
The post Limitations of A.I for Building a Longsword: Build Guide appeared first on Massima .
In this A.I. Limit Guide: I’ll be sharing the overall concept of developing your character when utilizing the Longsword as your primary weapon.
The Longsword in A.I. Limit It is a weapon category that provides an excellent equilibrium between strength and swiftness through its cuts. This choice of armament stands out as ideal for players leaning towards a well-rounded gaming approach instead of adopting an entirely aggressive strategy.
Should you have selected the Blader Longsword at the beginning, you've opted for one of the most dependable Longswords within the game because of its exceptional weapon skill. Given how the weapon enhancement and scaling mechanisms work, no equipment becomes outdated provided you keep improving them with resources gathered during your adventure.
Attribute Distribution
Let's start by assigning points to your attributes. The Longsword's damage depends on both Strength and Technique. A.I. Limit. Although the precise scaling differs among various longswords, this weapon category typically benefits more fromStrength. Generally, I suggest allocating just enough points in Skill to handle the weapon comfortably, then prioritizing further investments in Strength for maximum damage potential.
For other characteristics, I've discovered that possessing 15 points in Vitality around level 50 and 20 points near level 100 is sufficient. Although increased Sync Rate Gains from increased Conversion and Stability are beneficial, but the advantages do not compensate for the loss of Damageboost when investing in Strength or Technique.
Regarding the Life attribute, the comfort level may differ among players, but typically, having 25 points in Life around level 50 and 35 around level 100 It serves as an excellent standard. Increasing your investment in Life makes the gameplay simpler by enabling you to withstand additional blows, which is beneficial if you desire greater leeway for errors.
The number of points you invest in the Spirit attribute depends on the Longsword you’re using. Most Longswords don’t scale with Spirit or demand it, unless required Holy Ritual , which needs 18 Spirit to wield . There's no need to spend more than this minimum unless you intend to utilize that particular weapon. If you don't plan to do so, it’s safe to keep Spirit at its default value of 10. Nonetheless, I find it beneficial to raise it above this baseline. 12–15 points in Spirit So I am able to use all the weapons in the game, with the exception of Holy Ritual.
Weapons
There are a total of 9 Longswords in the game, including the Rusty Longsword you start with during the tutorial.
Blader Longsword
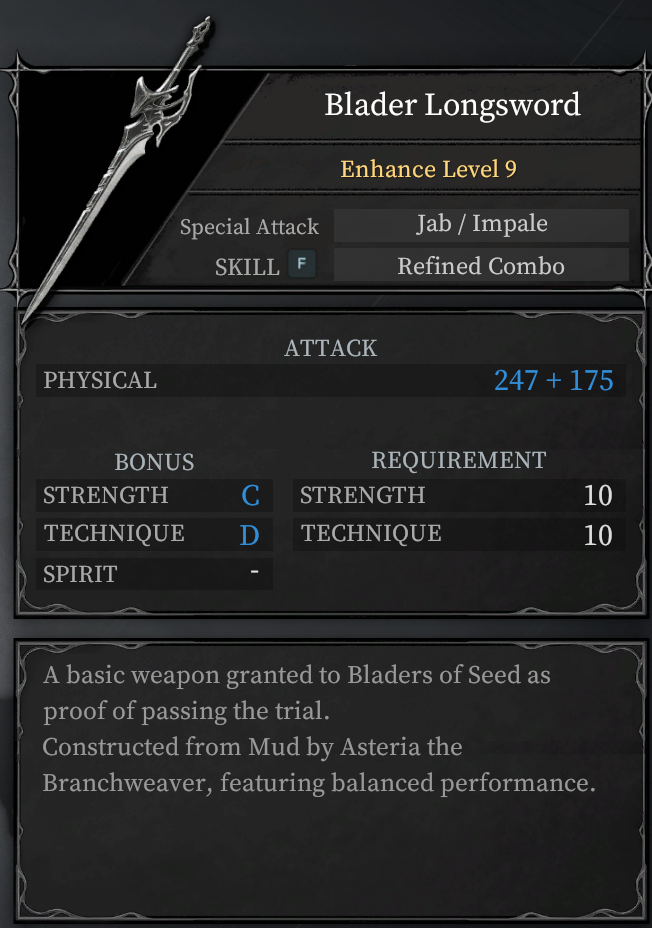
As mentioned earlier, the Blader Longsword It stands out as one of the most dependable choices for early-to-mid game combat due to its straightforward and efficient special move called Refined Combo. This maneuver requires almost no preparation time, strikes opponents thrice consecutively in front of the player, and frequently stuns them. Its utility becomes particularly evident when facing more formidable foes; players can incorporate this attack smoothly within their usual combo sequences, thereby maintaining continuous assault and minimizing opportunities for enemy retaliation.
Corrupted Blader Longsword
Halfway through the game, you'll encounter several longswords, however, I suggest changing to the Corrupted Blader Longsword.
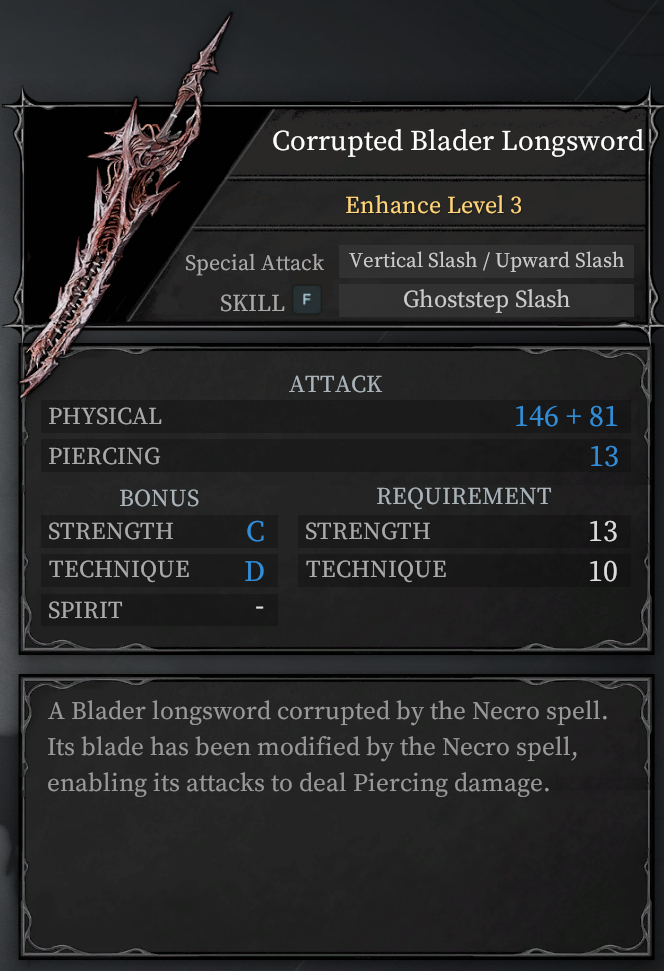
The Longsword applies the Piercing condition to foes, causing them to take additional burst damage upon activation of this effect. With its special move called Ghoststep Slash, it has the ability to stun opponents and executes quickly; however, it requires a marginally longer preparation time than the one found with the Blader Longsword. This sword is beneficial due to how swiftly it accumulates the Piercing state and typically triggers a Piercing effect following two consecutive full moves against many types of enemies.
Holy Ritual
Instead, you could allocate 18 points to Spirit and utilize the Holy Ritual Longsword, among the rare Longswords that improve with Spirit attributes.
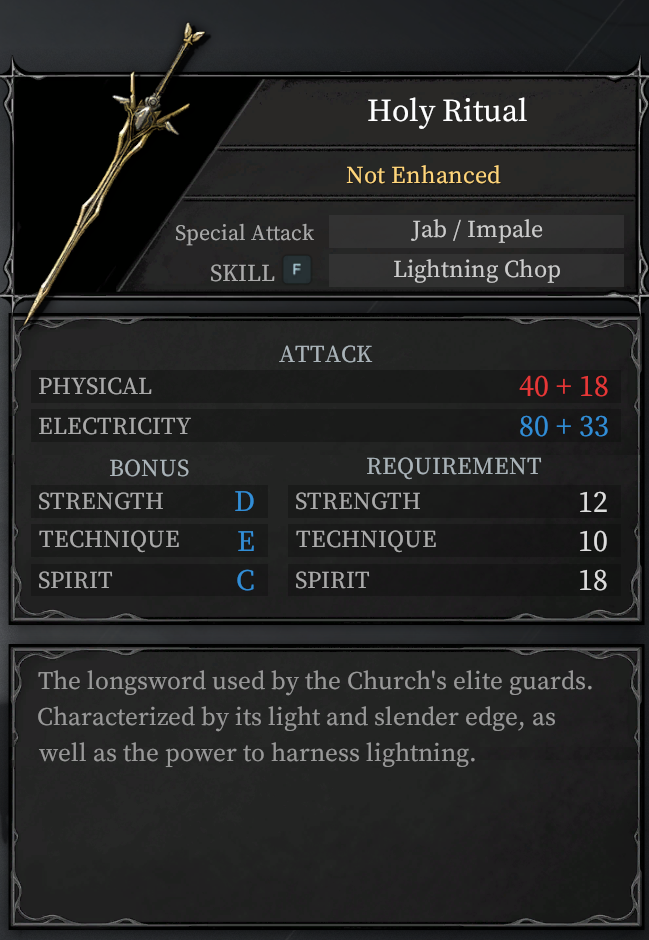
This weapon features a ranged ability called Lightning Chop, releasing two electrical waves and charging your blade with electricity, thereby increasing its electric damage output. However, it suffers from inadequate physical damage and performs poorly against foes immune to electric attacks (such as those found in churches). For optimal effectiveness, it should be paired with another weapon capable of inflicting different types of damage.
Dawnfrost
During the later stages of the game, you'll encounter the strongest opponents. Longsword: Dawnfrost.
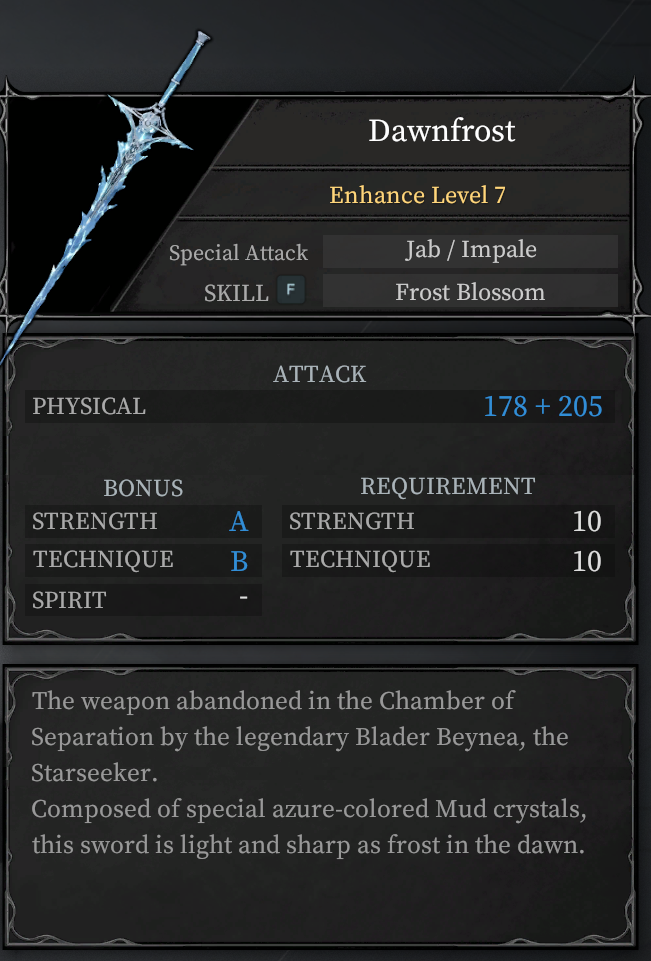
Dawnfrost has the most effective scaling for both Strength and Technique If your focus is mainly on longswords, this is unquestionably among the best options available. It inflicts physical harm, and its special ability, Frost Blossom , sends a cone-shaped ice wave forward after a short wind-up. It’s powerful, but difficult to land unless the enemy is staggered. The best time to use it is just after a fatal strike, while the enemy is getting up, for maximum damage.
Although various longswords exist, I discovered these three: Blader, Corrupted Blader , and Dawnfrost—proved to be the most effective during my gameplay sessions.
Spells
The A.I. Limit incorporates spells, though these function primarily as supplementary skills rather than main damage dealers. You have the flexibility to switch out spells whenever needed through the equipment menu; however, you're limited to having just one active at once, potentially interrupting the rhythm of battle.
The spell with the broadest utility that I discovered is Partial Reconstruction. Despite being the priciest at requiring a 60% Sync Rate, it restores your health without consuming items. Nonetheless, due to its extended casting duration, precise timing becomes crucial when employing this ability.

When using offensive spells (particularly those focused on Spirit), your initial spell, the Railgun, works well for drawing enemy aggro or taking out smaller groups of foes from a distance prior to close combat engagements. However, it isn’t particularly potent against boss characters because of its relatively low damage output.
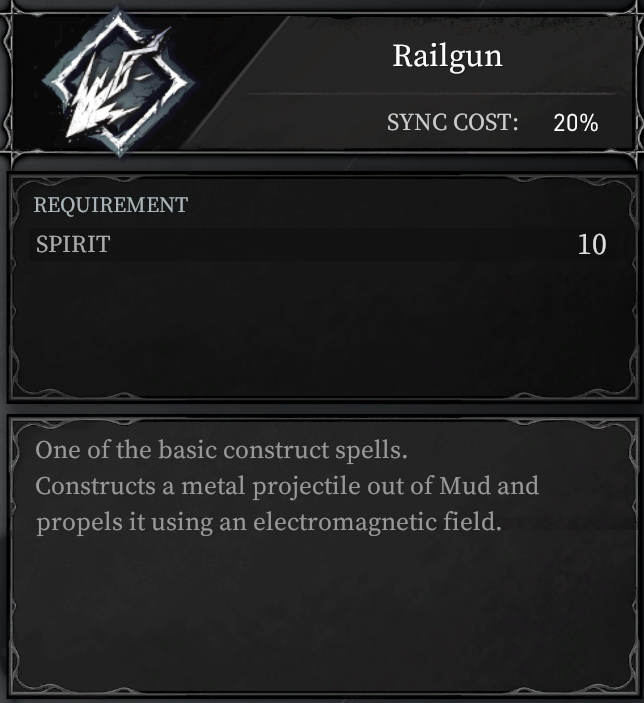
If you're looking for stronger offensive spells, particularly after investing skill points in the Spirit attribute, several choices become available. The primary attack spell you'll likely acquire early in the game is the railgun. Its utility lies in isolating individual foes from clusters or eliminating smaller adversaries within a larger crowd prior to engaging major opponents with your principal weaponry. However, this spell isn't very effective during boss battles due to its limited damage output.
Seals
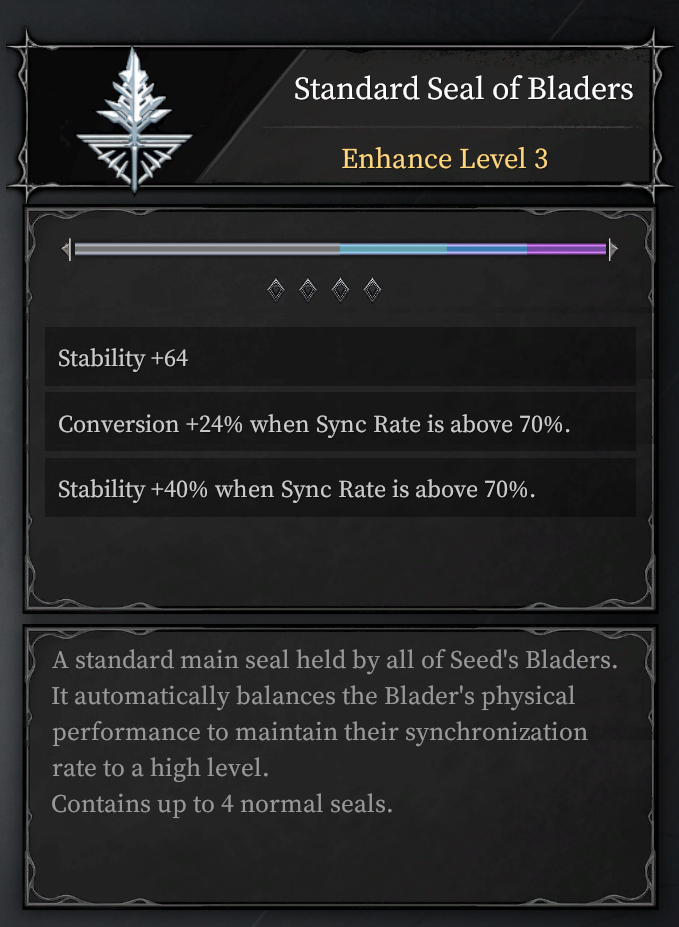
Using the Longsword, I discovered that the Standard Seal of the Bladers performs admirably during the early and middle stages of the game. This seal is perfect for balanced setups as it enhances Sync Rate acquisition when below 70% and improves Stability once above 70%. This helps in managing your Sync more efficiently.
The primary seal features four subsidiary slots for additional passive benefits. My preferred configuration consists of: enhanced defenses against various damage categories, improved conversion rates, boosted health points, and heightened burst damage output. While these selections are not mandatory—feel free to substitute with different seals according to personal choice.
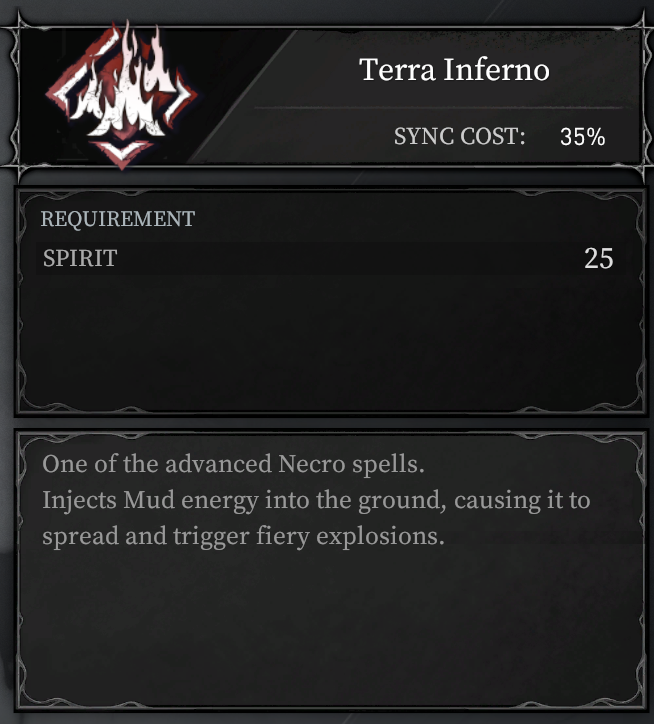
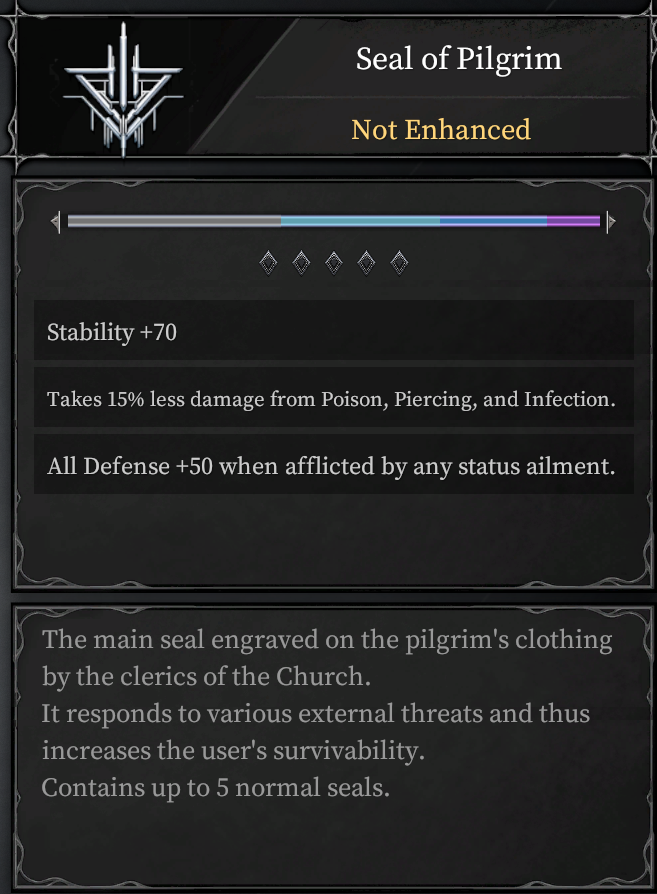
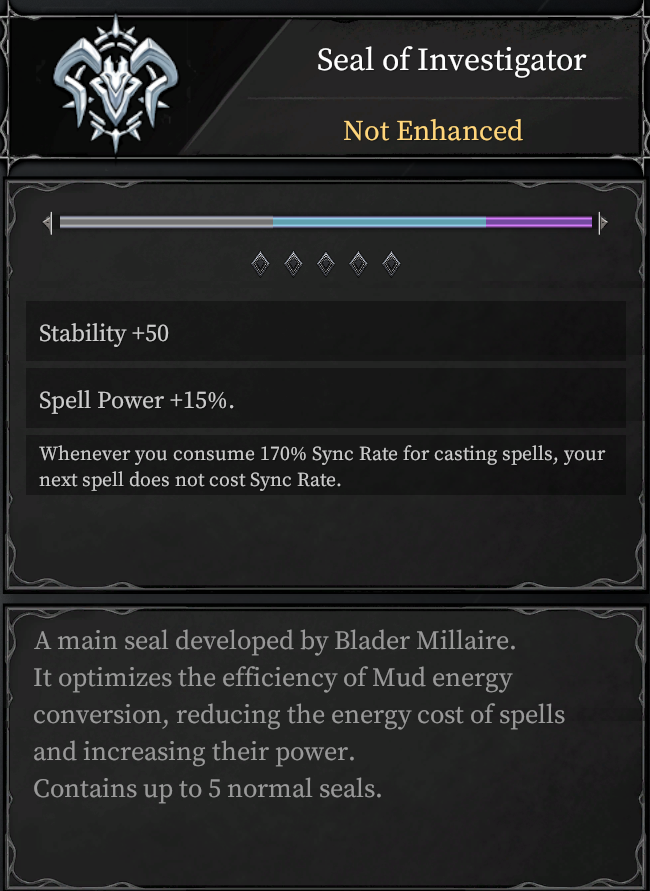
If you're employing aggressive spells such as Railgun or Terra Inferno, think about utilizing the Seal of the Pilgrim or the Seal of the Investigator. These seals allow you to attain Sync Level 1 at only 40% instead of 50%, which facilitates more regular use of your spells.
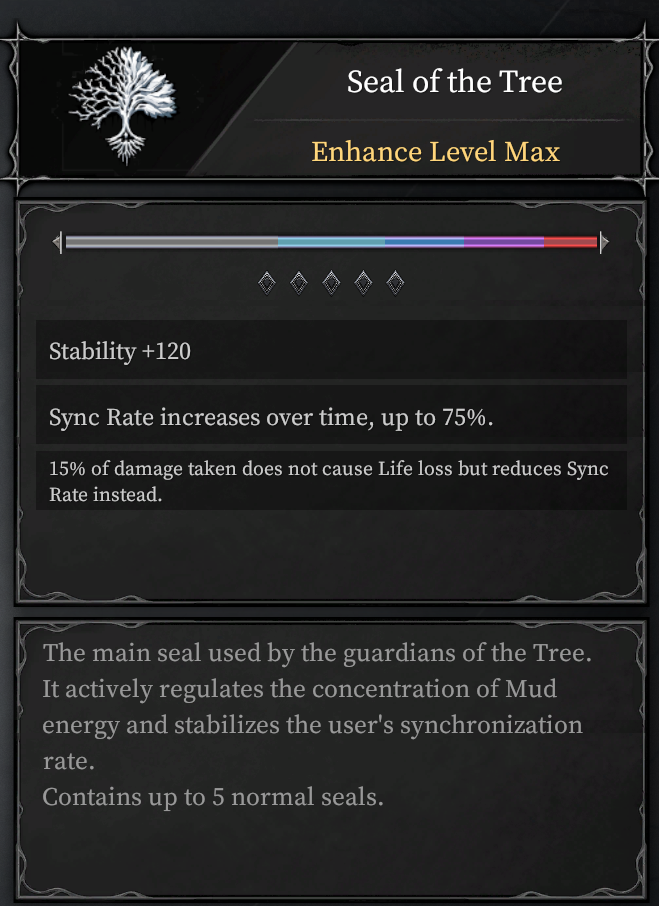
During the later part of the game, I changed to the Seal of the Tree This boost raises the passive Sync regeneration from 50% to 75%, enabling more regular utilization of weapon skills and spells without depending exclusively on assaults to restore the Sync Rate.
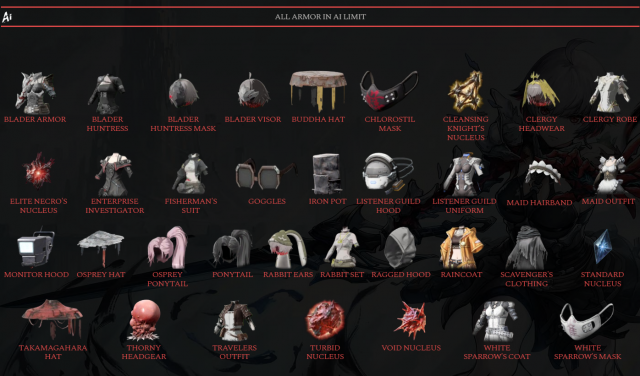
The Helmet, Protection Gear, and Core
Armors and helmets provide varying degrees of protection without offering any additional set bonuses or special abilities. As you advance, just wear the equipment with the highest defensive stats—these choices will not alter how you play; they'll merely enhance your ability to survive.
The nucleus placed in the auxiliary slot relies on your comfort level. When venturing into unexplored territories and aiming for caution, choose one with enhanced crystal retention. For areas where you're farming or feel at ease, opt for a nucleus with greater absorption capabilities to accumulate more crystals.
Spell Frame Abilities
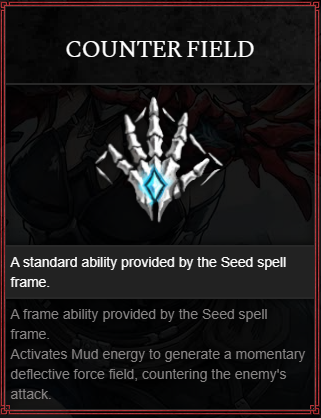
The first spell frame you get, Counter Field, is the most useful in my opinion. Learning enemy attack timings lets you counter easily, and the window isn’t too strict. Mastering this can make most of the game significantly easier, as many enemies become vulnerable to fatal strikes after being countered.
If you’re struggling with the timing or learning enemy patterns, the Shield frame is a good alternative. It blocks all physical and most elemental damage, though status effects still build up. The shield can’t be used indefinitely—it builds energy with each block and eventually overloads (glows purple). Use the Overload Burst to release the energy and stagger enemies before continuing to block.
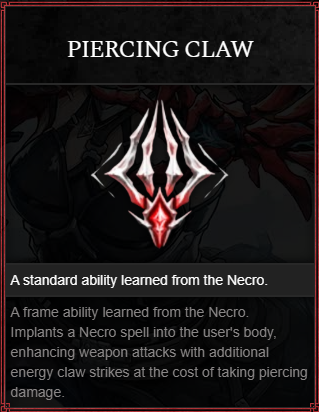
The third skill, Piercing Claw, has an aggressive nature. This move inflicts the Piercing status on yourself, causing minor self-damage while boosting your assaults with additional claw hits. The enhancement lasts longer as long as you keep attacking. Although potent, I found myself seldom requiring the added harm.
The concluding technique, Thunder Step, falls under the category of mobility skills. This move enables you to evade attacks with greater distance and speed. If executed flawlessly, it creates a decoy that detonates, dealing electric damage. Nonetheless, this ability fails to stun foes or set them up for critical hits, which I believe makes it the least effective among similar techniques.
To summarize: Counter Field the top frame ability is Longsword Users can rely on Piercing Claw for additional damage when required.
Conclusion
That concludes my guide for using the Longsword. A.I. Limit. Although it might not be the most eye-catching or powerful option available, the Longsword provides a dependable and well-rounded performance with good reach and harm output. For those seeking a consistent and adaptable weapons class, the Longsword makes an excellent selection.
If you've got additional tips or hacks for utilizing the system, feel free to share. Longsword , please feel free to share your thoughts in the comments section below, and make sure to explore the additional content afterwards. wiki for more guides.
The post Limitations of A.I for Building Longsword Guide appeared first on Massima .